To dry pine cones quickly and effectively, start by gathering them fresh from nature. Spread them out in a single layer on a baking sheet. Bake in the oven at a low temperature for about an hour. Once dried, your pine cones are ready for crafting or decorative use. Mastering how to dry pine cones will add a natural touch to your home decor or DIY projects.

How to Dry Pine Cones: A Complete Guide for Crafters and Nature Enthusiasts
Welcome, nature lovers and craft enthusiasts! Have you ever collected beautiful pine cones during a fun outdoor adventure or a peaceful nature walk? If so, you might be wondering how you can preserve and dry these natural treasures to use them in various creative projects. Well, you’re in the right place! In this comprehensive guide, we will dive into the fascinating world of drying pine cones. So, grab your pine cones and let’s get started!
The Beauty of Pine Cones
Before we delve into the process of drying pine cones, let’s take a moment to appreciate the beauty and versatility of these natural wonders. Pine cones come in various shapes and sizes, each with its unique charm. From the delicate spirals of tiny pine cones to the robust scales of large ones, these gifts from the forest never fail to captivate us.
Why Dry Pine Cones?
You might be wondering, why bother drying pine cones in the first place? Well, drying pine cones serves two main purposes: preservation and preparation for crafting. By drying pine cones properly, you can prevent mold growth and ensure that they retain their shape and color for a long time. Additionally, dry pine cones are easier to work with in craft projects such as wreath-making, home decor, and holiday ornaments.
Choosing the Right Pine Cones
Before you start the drying process, it’s essential to select the right pine cones. Look for pine cones that are fully intact, without any signs of damage or mold. Freshly fallen pine cones are ideal for drying, as they have not been exposed to prolonged moisture or decay. If you’re collecting pine cones from the ground, make sure to inspect them carefully before proceeding.
Prepping Your Pine Cones
Now that you have your pine cones ready, it’s time to prepare them for the drying process. Start by gently brushing off any dirt or debris from the pine cones using a soft-bristled brush. This simple step will help ensure that your pine cones dry evenly and maintain their natural beauty.
Inspecting for Pests
While prepping your pine cones, take a moment to inspect them for any signs of pests or insects. It’s not uncommon for critters to take shelter inside pine cones, especially if they were collected from the ground. If you notice any unwanted guests, gently tap the pine cones to encourage them to vacate before proceeding with the drying process.
Air Drying Method
One of the easiest and most natural ways to dry pine cones is through air drying. This method requires minimal equipment and can be done indoors or outdoors, depending on your preference. Here’s how you can air dry your pine cones:
Step 1: Arrange the Pine Cones
Find a well-ventilated area where you can lay out your pine cones in a single layer. Make sure to space them out evenly to allow for proper air circulation. Avoid overcrowding the pine cones, as this can hinder the drying process.
Step 2: Patience is Key
Let nature do its magic! Allow the pine cones to air dry naturally for several days to a couple of weeks, depending on their size and moisture content. Check on them periodically to ensure they are drying evenly and are free from mold or pests.
Oven Drying Method
If you’re short on time or want to expedite the drying process, you can use the oven drying method to dry your pine cones quickly and efficiently. Here’s how you can oven dry your pine cones:
Step 1: Preheat the Oven
Preheat your oven to a low temperature, around 200°F (90°C). Avoid using high heat, as this can cause the pine cones to burn or release sap.
Step 2: Bake the Pine Cones
Place the prepared pine cones on a baking sheet lined with parchment paper. Place the baking sheet in the preheated oven and let the pine cones bake for about 30-60 minutes, depending on their size. Keep an eye on them to prevent over-drying.
Step 3: Cool and Check
Once the pine cones are dry, remove them from the oven and let them cool completely. Check for any remaining moisture or signs of burning before using them in your crafts.
Decorating with Dried Pine Cones
Now that you’ve successfully dried your pine cones, it’s time to get creative! Dried pine cones can be used in a variety of craft projects and home decorations. Here are some ideas to inspire you:
1. Wreath Making
Add a rustic touch to your wreaths by incorporating dried pine cones into the design. Arrange the pine cones around the wreath base and secure them in place with floral wire or hot glue for a charming look.
2. Table Centerpieces
Create beautiful table centerpieces by placing dried pine cones in a decorative bowl or scattering them along the table runner. You can also spray paint the pine cones in metallic colors for a festive touch.
3. Seasonal Ornaments
String dried pine cones together to make natural garlands or ornaments for your Christmas tree. Add a touch of glitter or paint for a personalized touch that reflects your style.
Congratulations, you’ve learned how to dry pine cones like a pro! Whether you’re a seasoned crafter or a nature enthusiast, drying pine cones opens up a world of creative possibilities. So, the next time you stumble upon a treasure trove of pine cones, remember the simple techniques shared in this guide to preserve and enhance their natural beauty. Happy crafting!
Thank you for reading. Get ready to embark on a fun and creative journey with dried pine cones!
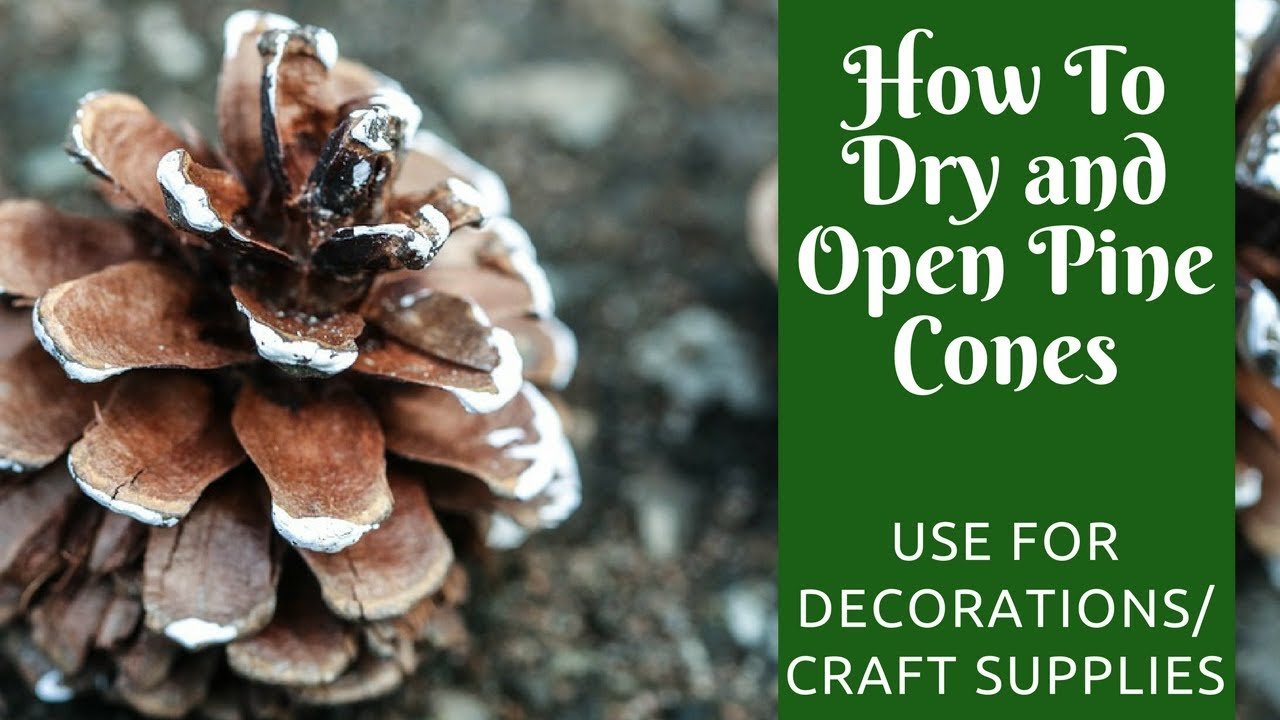
Christmas Crafts: How to Dry and Open Pine Cones
Frequently Asked Questions
How can I dry pine cones efficiently?
To dry pine cones efficiently, start by collecting fresh pine cones from a clean outdoor environment. Place the pine cones on a baking sheet in a single layer and bake them in an oven at a low temperature, around 200-250 degrees Fahrenheit, for 1-2 hours. Keep a close eye on them to prevent any burning. Once they are dry, let them cool before using them in crafts or décor.
What is the best way to prepare pine cones for drying?
The best way to prepare pine cones for drying is to gently shake them or use a soft brush to remove any loose debris or insects. You can also opt to wash them in a mixture of water and vinegar to sanitize them and remove any remaining dirt. Allow the pine cones to air dry before moving on to the drying process.
Can pine cones be air-dried instead of using an oven?
Yes, pine cones can be air-dried instead of using an oven. To air dry pine cones, place them in a well-ventilated area with low humidity. It may take a few days to a few weeks for the pine cones to fully dry depending on the humidity levels. Turn the pine cones occasionally to ensure even drying.
Final Thoughts
Drying pine cones is a simple process that can be done at home. To dry pine cones, start by collecting them and removing any debris. Then, bake them in the oven at a low temperature to ensure they are completely dry. Once dried, use the pine cones for various crafts and decorations. By following these steps, you can easily dry pine cones to use for your DIY projects.